Cardboard is one of the most recyclable materials. In fact, you can recycle it multiple times as it does not lose its strength after recycling. However, the main problem arises when you want to put recycled cardboard to use. Although making boxes is their popular use, nevertheless, not everyone needs boxes all the time. So, you are bound to look for other alternatives.
Well, if your brain has a creative bent, you can create wonders out of waste. Nevertheless, if that’s not the case, let us lend you some creativity. Here is how you can use recycled cardboard to make a castle for your kids and along with many other artworks.
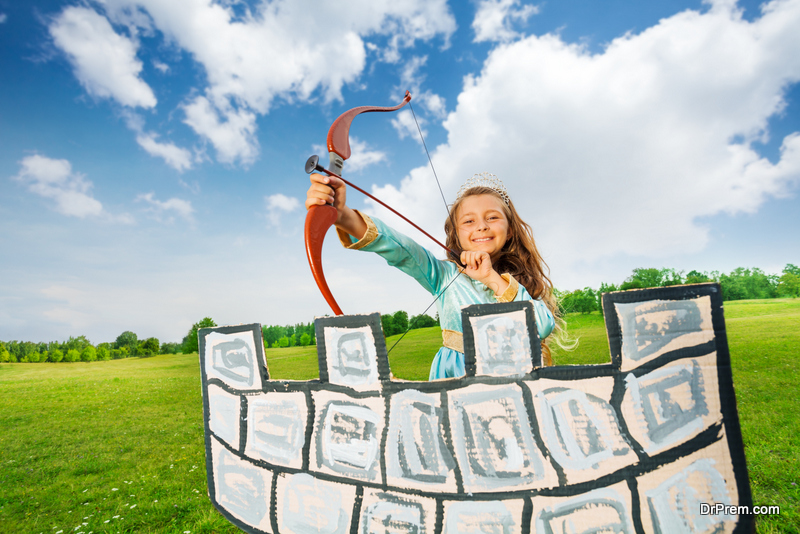
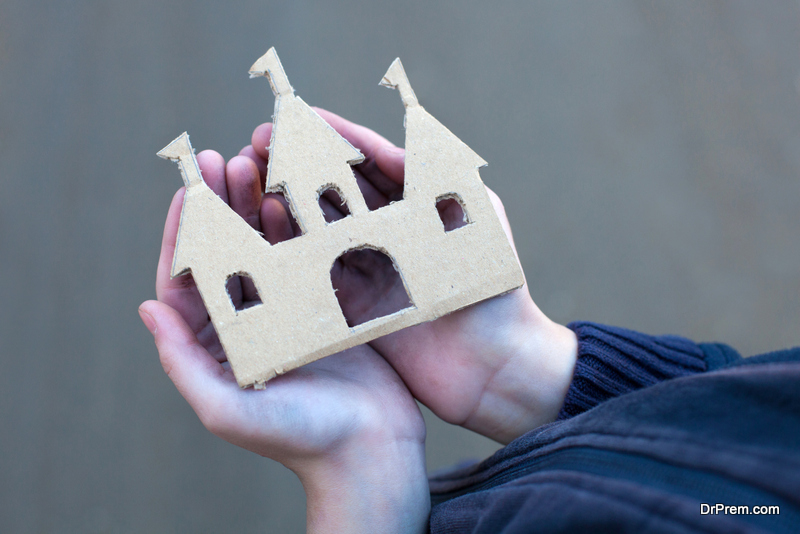
How to make a castle for your kids using recycled cardboard
The castle shown in the above picture is totally made with cardboard and is an easy go project theme for your child. Kids love castles, since the typical fairy queen stories entice each one of them, so a cardboard castle for your kids will definitely attract their curiosity and creativity. The project is simple which requires stuff like glue, paints, cardboard and many items to decorate and give it a shape. The castle can be placed anywhere because it’s not going to take much of a space but the thing must not be moved much here and there. So, to have in-depth conceptions of making such a structure go through the following details:
Difficulty level
The cardboard castle is so very easy to make that anyone can attempt it even without having any prior knowledge. The castle will be the best pass time work which can invoke the innovation in your kid to achieve it successfully. It is a cool way to reach your children if you just had a fight with them!
Time required
The making of the castle with cardboard needs a maximum of 5 hours if done sincerely. The whole procedure is related to the materials being gathered and the size of the castle, so if you are aiming for a moderate sized castle it should not take much time. The materials like paint, tapes must be arranged beforehand to finish the work as fast as possible.
Resources required
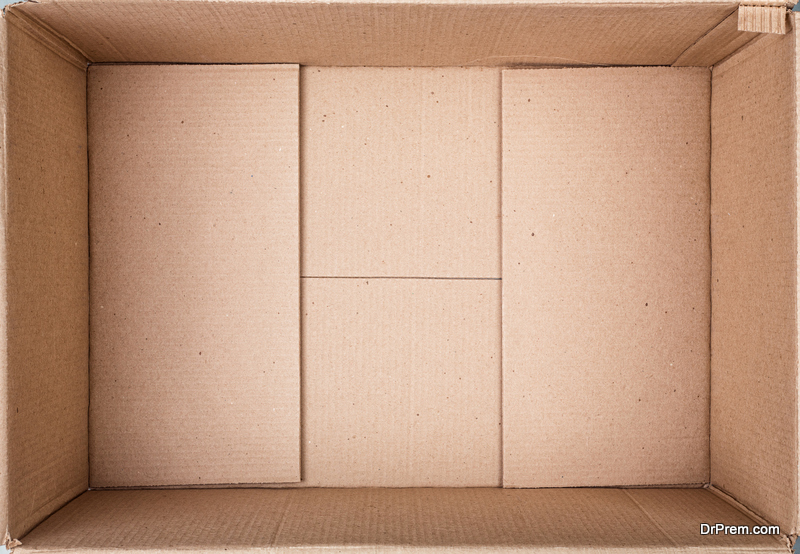
1. Recycled Cardboard
 The most crucial resource has to be cardboard in here, as you can understand. The cardboard must be of good quality and should have a minimum amount of flexibility. This is because the shaping of the basic structure of the castle needs precise cardboard dimensions. So, if you go for cardboard from previous year, then get ready for a collapse after some days.
2. Glue
Every part of the castle must be properly glued and pasted so that it can withstand the immense hostility your kids going to inflict on it. Buy a solid glue brand to impart strength on the structure. The doors, side walls, windows, apex flags must be glued with extra care.
3. Paints
Several paint colors should be arranged so that the castle can be made ornamental and beautiful. The paints can be any type of normal colors which suits the cardboard surface. tapes can also be used for the purpose in place of paints, which is totally up to you.
4. Scissors
The sizing of the cardboard will need some sharp scissors. The window panes, door size must be sized after careful considerations.
Estimate cost
It is totally dependent on the materials you have collected. Each and every constituent of this project can be found in your home so the cost is basically zero. In case you buy paints, glue, and such the cost can never go beyond $4.
Instructions
1. Make pieces of the cardboard according to the need of the front door. The door is the starting point and then move down to the windows and back of the castle.
2. The windows are carved out from the cardboard with precision because the doors are already done. The proportion of the parts must be kept in mind.
3. The tapes are used to ornate the castle parts separately because the gluing part is easy. Once you have cut and shaped all the parts, the project will take a few minutes to paste things.
4. The different segments of the castle are then pasted to give rise to the whole structure. Use tapes, glue should be made extravagantly to increase the life expectancy of your beloved castle.
5. Once this is done, your castle is ready and you can move it to any place of you wish.
Frequently asked questions
1. What type of cardboard must be used?
Ans. There are no specifications. They should be of minimum strength.
2. What type of glue is suitable?
Ans. The paper pasting glue types are enough to take part this project.
3. Can I use oil paints?
Ans. Sure. If you are comfortable to use oil paints on a cardboard, then certainly it would be the best.
Quick tips
1. Make the window curtains using fabric cloth.
2. Do not make the castle too long so that it can be easily shifted.
3. Make the door wide enough so that your kid fits into it.
Things to watch out for
1. The scissors must be used carefully.
2. The use of pins for attachment of the parts must be avoided.
3. Stay with your kid all through so that the uses of paints are judicious and does not harm your loved one.
Some more ways to recycled cardboard creations
1. A Solar-powered oven
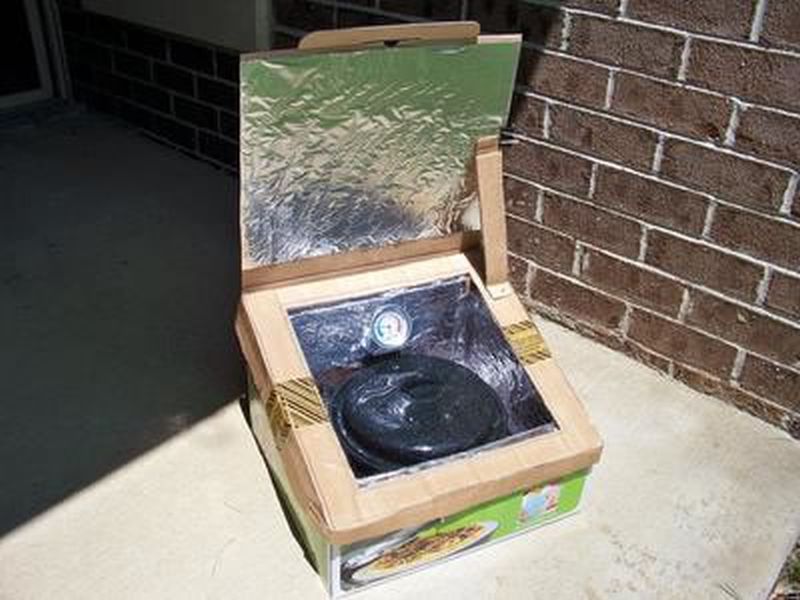
Image Source : solarcooker-at-cantinawest.com
Making a DIY solar-powered product out of cardboard sounds great isn’t it? You can get yourself a solar oven using things that can be easily available at your home. All you need is to find a place which receives ample sunlight for the whole day. Now attach some aluminum foil to a cardboard box that is spacious enough to keep food. And your homemade solar-powered oven is ready to use.
2. Kitty scratching pad or chaise lounge
Have you ever noticed you kitty playing around with cardboards. It’s true that cats are fond of them. Why spend fortunes to buy your kitty scratching pads as well as lounges from pet stores. You can learn how to make a cardboard lounge from Evil Mad Scientistâs blog, which also looks lot better than lying around some boxes. Design Sponge also offers kitty pad made out of recycled cardboard, which is a circular coil of corrugated cardboard sides that provides enough area for your kitty to scratch on.
3. A sturdy laptop stand
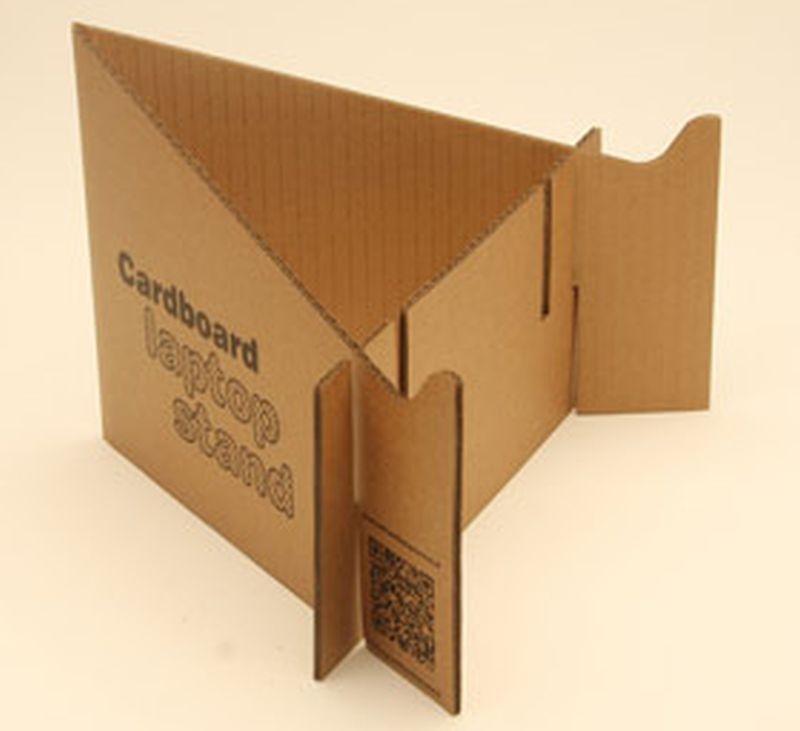
Image Source : cardboardlaptopstand.com
Making a do it yourself laptop stand also needs lot of research and might also need you shell out some fortune. Are you looking for some cheap and temporary solution? You can get a cardboard laptop stand from eco-conscious blog’s green upgrader that can easily hold your standard-sized laptop. This cardboard stand can easily come apart making you simpler to pack it into flat pieces and carry in your laptop bag.
4. Tangle-free cord containers
Are you looking out for an easy way to handle your clutter issue and that to once for all? It’s simple just bundle up all your longer extension cords, holiday lights as well as networking cables in to stretched loops. You might have lots of cardboard tubes in your recycle bin. Make use of these toilet paper tubes as cord holders and you are free of all those extra long cords lingering around at your home.
5. Phone dock
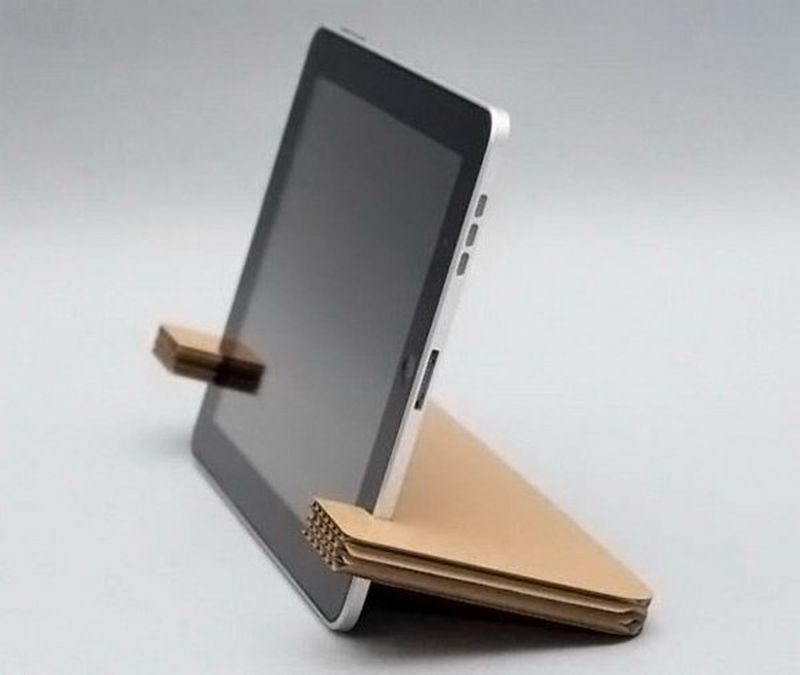
Image Source : hative.com
Making a phone dock needs more accuracy unlike other cardboard hacks. It requires A4-sized lighter cardboard, non tape adhesives, a thin-bladed knife and all you need to be softer on your hands. This phone dock is not only money saving but also provides space to keep your cell phones upright, handy and also charging when your busy working at your desk or anywhere else.
6. Camera/gadget bag
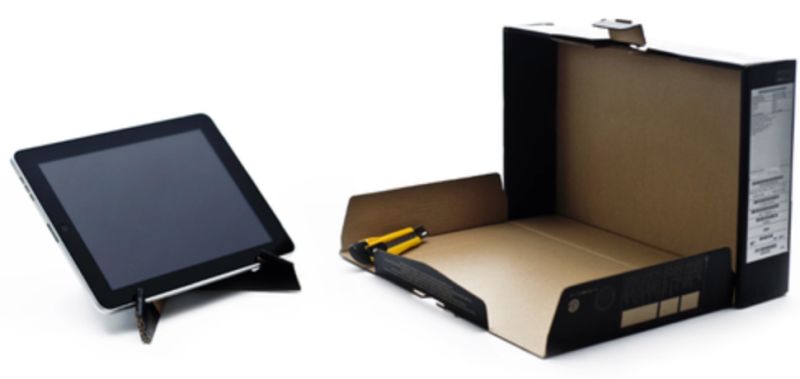
Image Source : images.manmadediy.com
It’s always risky to keep your bags that hold laptops or your DSLR cameras unattended. You can get step-by-step instructions on how to make a stealth camera bag from Wired’s How-to Wiki. It would cost you around $28 to gather some foam from a hardware store and an Army surplus shoulder bag. Now make use of cardboard to support the loose compartments of the bag. Apply foam to the cardboard and place it in those loose compartments making your shoulder bag fully cardboard-based at the same time make it look different and safe.
7. A laptop case
You need to get bit more creative to make your inexpensive laptop case that is prepared from cardboard and duct tape to have cord and cardholders as well as pockets like that of the usual laptop bags you get at the department stores at $30. Second, your case would look more unique, stylish and also be waterproof rather than those cloth cases. At the same time you won’t need to be worried about it getting stained with coffee or getting pen marks.